How to hook up solar panel to battery
How to Hook Up a Solar Panel to a Battery:
A Comprehensive Guide
Connecting a solar panel to a battery is an essential step in creating a sustainable and self-sufficient energy system. This guide will provide a detailed look at each step involved in the process, from selecting the right components to installing and maintaining your solar system, ensuring you can efficiently harness solar energy for your needs.
Understanding the Components
A solar power system is composed of several key components, each playing a crucial role in converting and storing solar energy. Here’s a closer look at each:
- Solar Panel: Solar panels, or photovoltaic (PV) panels, are devices that convert light into electricity. They consist of multiple solar cells made from layers of silicon, conductive materials, and glass. When sunlight hits a solar cell, it causes electrons to be set in motion, which initiates a flow of electric current. This process is known as the photovoltaic effect.
- Solar panels come in various sizes and types, including monocrystalline, polycrystalline, and thin-film, each with different efficiencies and cost implications. Monocrystalline panels are highly efficient and occupy less space but are more expensive. Polycrystalline panels are cheaper but less efficient. Thin-film panels, while less durable, are versatile in terms of their installation and can be used on surfaces where weight and space are constraints.
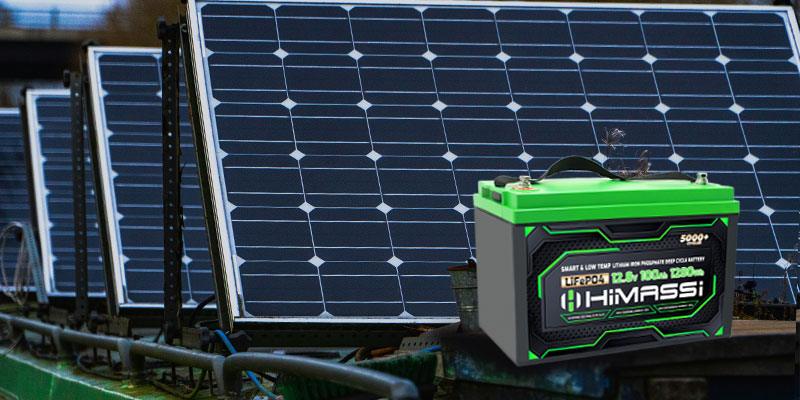
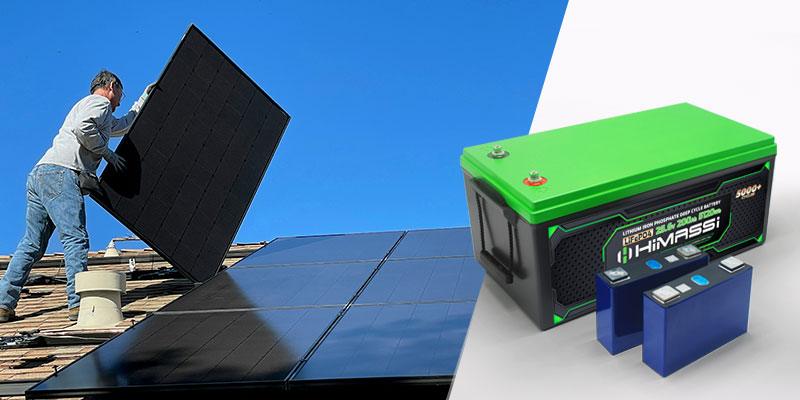
- Battery: The battery stores the electricity generated by the solar panels for later use. The most common types of batteries used in solar systems include:
- Lead-acid: These are the traditional choice for large, off-grid solar systems because they are cost-effective and widely available. However, they require regular maintenance and have a shorter lifespan compared to other types.
- Lithium-ion: Known for their long lifespan and efficiency, lithium-ion batteries are becoming increasingly popular in residential solar installations. They are maintenance-free and have a higher energy density, which means they can store more electricity in a smaller package.
- Nickel-cadmium (NiCd)and Nickel-metal hydride (NiMH): These are less common but offer specific benefits, such as extreme temperature performance and a long cycle life, which can be crucial depending on the installation environment.
- Charge Controller: This device controls the rate at which electric current is added to or drawn from the batteries. It prevents overcharging and can protect against over-voltage, which can reduce battery performance or lifespan. There are two main types of charge controllers:
- PWM (Pulse Width Modulation): These are simpler and generally cheaper controllers that are effective in small systems where efficiency is not the primary concern.
- MPPT (Maximum Power Point Tracking): MPPT controllers are more efficient at converting the voltage from the solar panels to match the battery’s voltage. They optimize the power output of the panels, making them ideal for larger systems where maximizing efficiency is key.
- Inverter: Not always required, the inverter is necessary if you intend to power AC appliances. It converts the DC electricity stored in the battery into AC electricity that can be used by most household appliances.
Step 1: Selecting the Right Components
Choosing the appropriate components for your solar system is critical and should be based on specific needs and conditions. Here’s how to select each component effectively:
- Assessing Your Energy Needs: Begin by calculating your daily electricity usage in kWh, which will help determine the capacity and number of solar panels and batteries needed.
- Solar Panel Selection: Choose a solar panel that not only fits your budget but also your geographical location and roof space. Consider higher efficiency panels if space is limited or if you wish to maximize power output.
- Battery Selection: Consider your energy storage needs, budget, and the longevity of the battery. Lithium-ion batteries, while more expensive, might be more cost-effective over time due to their longer lifespan and better performance.
- Charge Controller Selection: Match the charge controller with the total voltage and current of the solar panel array and battery. An MPPT controller is a good investment for maximizing system efficiency, particularly in variable weather conditions.
Step 2: Wiring the Components
Once the right components are selected, the next crucial step is properly wiring them together. This step ensures that the solar panels, charge controller, battery, and any other components are connected in a way that optimizes efficiency and safety. Here’s a detailed guide on how to proceed:
- Gather Necessary Tools and Materials: Before starting, ensure you have all necessary tools and materials. This includes suitable gauge wires, wire cutters, crimping tools, connectors, a multimeter, and safety equipment like gloves and protective eyewear.
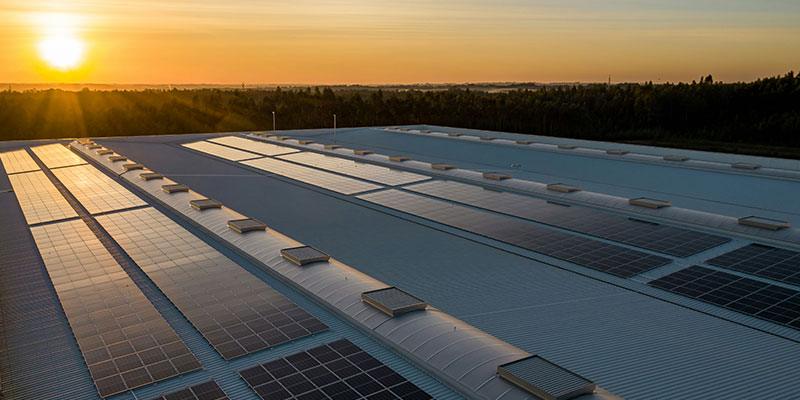
- Installing the Solar Panels: Mount the solar panels in your chosen location. Ensure that the mounting structure is stable and can withstand environmental stresses like wind and snow. The panels should be angled to maximize sun exposure, which varies depending on your geographic location. Use a solar angle calculator to determine the best tilt angle.
- Wiring the Solar Panels to the Charge Controller: Start by connecting the solar panels to the charge controller. It is crucial to use the correct gauge of wire to handle the current and to minimize energy loss over the distance the current must travel. For most residential solar power systems, using AWG 10 or AWG 12 wires is sufficient.
- Positive and Negative Connections: Connect the positive wire from the solar panel to the positive terminal of the charge controller, and the negative wire to the negative terminal. Ensure these connections are tight and secure to avoid any power loss or potential safety hazards.
- Using Connectors: Employ MC4 connectors, which are standard for solar panel connections because they provide a secure and weatherproof connection. Make sure the connections are correctly matched and locked in place.
- Connecting the Battery to the Charge Controller: The next step is to connect the battery to the charge controller. This is critical as the charge controller regulates the battery charging, preventing overcharging and ensuring the battery’s longevity.
- Battery Connections: Similar to the solar panel connections, attach the positive terminal of the battery to the positive terminal on the charge controller, and the negative terminal to the negative terminal. Use appropriate fuses or circuit breakers to protect the wiring and components from any short circuits or overloads.
- Checking Voltage and Polarity: After all connections are made, use a multimeter to check the voltage and polarity at each connection point. This ensures everything is connected correctly and the system is functioning properly. The voltage readings should match the specifications for each component.
- Securing the Wiring: Secure all wiring with cable ties or clips, ensuring that wires are tidy and away from any moving parts or areas that could cause wear and tear. Proper wire management not only maintains the aesthetic appearance of your installation but also reduces the risk of accidents.
Step 3: Setting Up the System
With all components wired, the next step is to set up and activate the system:
- Configure the Charge Controller: Program the charge controller according to the manufacturer’s specifications and your specific battery requirements. This typically involves setting the charging voltage per the battery’s type and capacity, and adjusting settings like load disconnect voltage.
- System Testing: Turn on the system and monitor the initial performance.
- Monitor Charging: Check that the solar panels are adequately charging the battery. The charge controller display should indicate charging status and provide information about the charge rate and battery voltage.
- Load Testing: Connect a small load, like a light or a fan, to the inverter (if using) to ensure the system can handle load and the inverter correctly converts DC to AC.
- Regular Monitoring: For the first few days, monitor the system extensively to ensure all components are functioning correctly and efficiently. Check for any unusual drops in power or fluctuations that could indicate a problem.
Step 4: Maintaining Your System
Regular maintenance is essential to ensure your solar power system continues to operate efficiently and effectively over its lifetime. Here are detailed maintenance tips to keep your system in top condition:
- Visual Inspections: Conduct regular visual inspections of all components, including solar panels, batteries, charge controller, and wiring. Look for any signs of damage such as cracks in the solar panels, corrosion on battery terminals, frayed or exposed wires, or dust and debris accumulation.
- Cleaning Solar Panels: Dirt, leaves, and other debris can accumulate on your solar panels and significantly decrease their efficiency. It’s important to clean your panels periodically. Here’s how to do it safely and effectively:
- Safety First: If your panels are roof-mounted, ensure you use the proper safety equipment and techniques to access your roof safely.
- Cleaning Process: Use a soft brush or a non-abrasive sponge and soapy water to gently clean the surface of the panels. Avoid using harsh cleaning materials or pressure washers which can damage the panels.
- Optimal Cleaning Times: Perform cleaning in the early morning or late evening to avoid hot surfaces and reduce the risk of sudden temperature changes that could crack the panels.
- Battery Maintenance:
- Lithium-ion Batteries: These batteries generally require little maintenance, but it’s important to keep them in a cool, dry place and check the connections periodically for any signs of corrosion or looseness.
- Lead-acid Batteries: Regularly check the electrolyte levels and top them up with distilled water if needed. Also, clean any corrosion from terminals and connections using a solution of baking soda and water. Ensure the area is well-ventilated when performing maintenance on lead-acid batteries.
- Charge Controller and Inverter Check:
- Inspect Regularly: Check these devices for any error messages or warnings that could indicate problems. Consult the user manual for troubleshooting tips or contact the manufacturer if you encounter persistent issues.
- Software Updates: Some charge controllers and inverters might require firmware updates to improve functionality and efficiency. Check the manufacturer’s website for updates and instructions on how to install them.
- Electrical Connections:
- Check Connections: Ensure all electrical connections remain tight and secure. Loose connections can lead to a drop in system efficiency and pose a fire hazard.
- Corrosion Prevention: Apply an anti-corrosion gel to connections, especially those exposed to harsh environments, to prevent corrosion and ensure long-term reliability.
- Documentation and Monitoring:
- Keep Records: Maintain records of all maintenance activities, system performance data, and any repairs or replacements. This documentation can be invaluable for troubleshooting issues and proving compliance with warranty requirements.
- System Monitoring: Use monitoring systems if available. Many modern solar systems offer remote monitoring through apps or software, which can provide real-time data on system performance and alert you to any issues immediately.
The Benefits of Choosing Himax Electronics
Incorporating products from Himax Electronics into your solar setup can provide significant benefits. Himax Electronics is committed to providing high-quality solar products that offer reliability and performance. Here are some advantages of choosing Himax Electronics for your solar system:
- Advanced Technology: Himax products are designed with the latest advancements in solar technology, ensuring high efficiency and maximum power output from your solar panels and batteries.
- Durability: Products from Himax are built to withstand harsh weather conditions and provide long-lasting performance, reducing the need for frequent replacements and maintenance.
- Warranty and Support: Himax offers comprehensive warranties and excellent customer support, giving you peace of mind and protection for your investment.
- Sustainability Commitment: By choosing Himax, you are partnering with a company that prioritizes sustainability in its products and operations, helping to reduce your environmental footprint.
Conclusion
Setting up and maintaining a solar panel system connected to a battery requires careful planning, regular maintenance, and attention to detail. By following this guide, you can ensure your system operates at peak efficiency and continues to provide reliable, renewable energy for years tocome. Remember, investing time in maintenance and choosing quality components from trusted providers like Himax Electronics will maximize your solar investment and contribute to a sustainable future.

